
关于项目使用nginx配置https访问
前言
本文主要介绍的是项目如何部署成https访问,当然前提是服务器使用的是nginx进行代理的。
一、去腾讯云或阿里云申请SSl证书
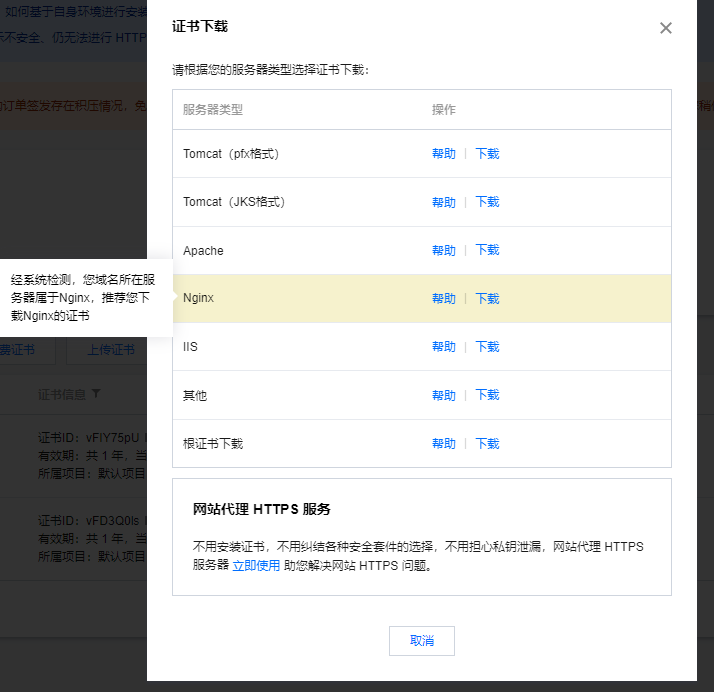
二、当签发了证书之后下载证书
因为使用的是nginx,所以下载的是nginx证书
三、查看nginx是否安装了with-http_ssl_module
进入到nginx安装目录下面,如/urs/local/nginx,进入到目录的sbin目录下,输入
# 注意这里是大写的V,小写的只显示版本号
./nginx -V

nginx version: nginx/1.14.2
built by gcc 4.8.5 20150623 (Red Hat 4.8.5-44) (GCC)
built with OpenSSL 1.0.2k-fips 26 Jan 2017
TLS SNI support enabled
configure arguments: --prefix=/usr/local/nginx --with-http_ssl_module
如果出现configure arguments: --with-http_ssl_module,则已安装。
一般情况下都是不存在ssl模块的,接下来进入到解压缩后的nginx目录,注意这里不是nginx安装目录,是解压缩后的目录,如/usr/local/nginx-1.14.2,进入目录后,输入
./configure --prefix=/urs/local/nginx--with-http_stub_status_module--with-http_ssl_module
接下来执行make,切记不要执行make install,否则会重新安装nginx
make
上述操作执行完成以后,在目录下会出现objs文件夹,文件夹内存在nginx文件。
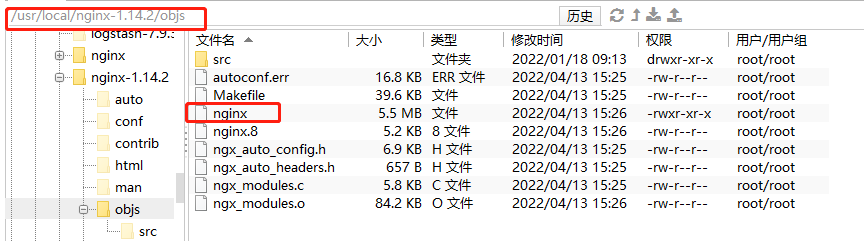
接下来使用新的nginx文件替换掉之前安装目录sbin下的nginx,注意替换前需要备份之前的我呢见,停掉nginx服务。
./nginx s stop     # 停止nginx服务
# 替换之前的nginx
cp /usr/local/nginx-1.14.2.objs/nginx /usr/local/nginx/sbin
成功之后,进入到nginx安装目录下,查看ssl是否成功
# 注意这里是大写的V,小写的只显示版本号
./nginx -V
# 可以看到这里出现了configure arguments: --with-http_ssl_module 证明已经安装成功
nginx version: nginx/1.14.2
built by gcc 4.8.5 20150623 (Red Hat 4.8.5-44) (GCC)
built with OpenSSL 1.0.2k-fips 26 Jan 2017
TLS SNI support enabled
configure arguments: --prefix=/usr/local/nginx --with-http_ssl_module
四、配置ssl证书
将下载的证书解压上传至服务器,只需pem文件和key文件,将它放在nginx目录下,创建cert文件夹
mkdir cert
五、修改nginx.conf配置
server {
	listen: 443 ssl;
    # 你的域名
    server_name: xxx.com;

    # 上传证书
    ssl_certificate    ../cert/xxx.pem;
    ssl_certificate_key    ../cert/xxx.key;

    ssl_session_cache    shared:SSL:1m;
    ssl_session_timeout    5m;

    ssl_ciphers HIGH:!aNULL:!MD5;
    ssl_prefer_server_ciphers    on;

    location / {
    	root /usr/local/blog/vue-blog/https/dist;
        index index.html index.htm;
        try_files $uri $uri/ /index.html;
    }

    location /shiyi {
    	proxy_pass http://127.0.0.1:8800/shiyi;
        proxy_set_header Host    $host;
        proxy_set_header X-Real-IP   $remote_addr;
        proxy_set_header X-Forwarded-For $proxy_add_x_forwarded_for;
        proxy_http_version 1.1;
        proxy_read_timeout 3600s;
        proxy_set_header Upgrade $http_upgrade;
        proxy_set_header Connection "upgrade";
    }
    location /admin {
    	alias /usr/local/blog/admin-blog/dist;
        index index.html index.htm;
        try_files $rui $uri/ /index.html;
    }
    error_page 404 /404.html;
    location = /404.html {

    }
	error_page 500 502 503 504 /50x.html;
    location = /50x.html {
    }
}
server {
	listen    80;
    server_name    xxx.com;
    # 将请求转成https
    rewrite ^(.*)$ https;
}
六、重启nginx
./nginx -s reload
然后就可以通过https访问你的网站了,如果能够正常访问则说明配置成功,当然如果使用了七牛云对象存储等第三方的就需要也去配置七牛云的https,否则就会出现https访问http的错误异常。